
# Widgets, Singletons, and Areas
Central to Apostrophe is the philosophy that editors can edit their content in context. In order for you to enable this functionality in your templates, Apostrophe provides singleton and area helpers. Within those singletons and areas, the objects that you add to a page are called widgets.
# Singletons
A Singleton is a space on a page that allows an editor to add a single "widget" of a specific type.
# Example: Creating a Rich Text Editor as a Singleton
If you're following along, you created a default.html template in the previous article. As an example, we'll add a rich text singleton to your default.html template. If you're not following along, you can use home.html or another file in your local project.
Open
default.html.Replace the
mainblock with this:{# lib/modules/apostrophe-pages/views/default.html #} {% block main %} <div class="main-content"> {{ apos.singleton(data.page, 'textBlock', 'apostrophe-rich-text', { toolbar: [ 'Bold', 'Italic' ] }) }} </div> {% endblock %}
Let's deconstruct the arguments we are passing here.
# data.page
The page object you want to save the singleton to. In this case, we are editing content on the current page, so the content should be saved to that page.
# 'textBlock'
The name of the area. This denotes what property the singleton will be saved to in the page object. In this case, it would be saved to data.page['textBlock'].
# 'apostrophe-rich-text'
The widget type we want to allow in the singleton. In this case, we are using the standard rich text widget.
# { toolbar: [ 'Bold', 'Italic' ] }
An "options" object that allows us to pass type-specific options to the widget. Rich text widgets support a toolbar option.
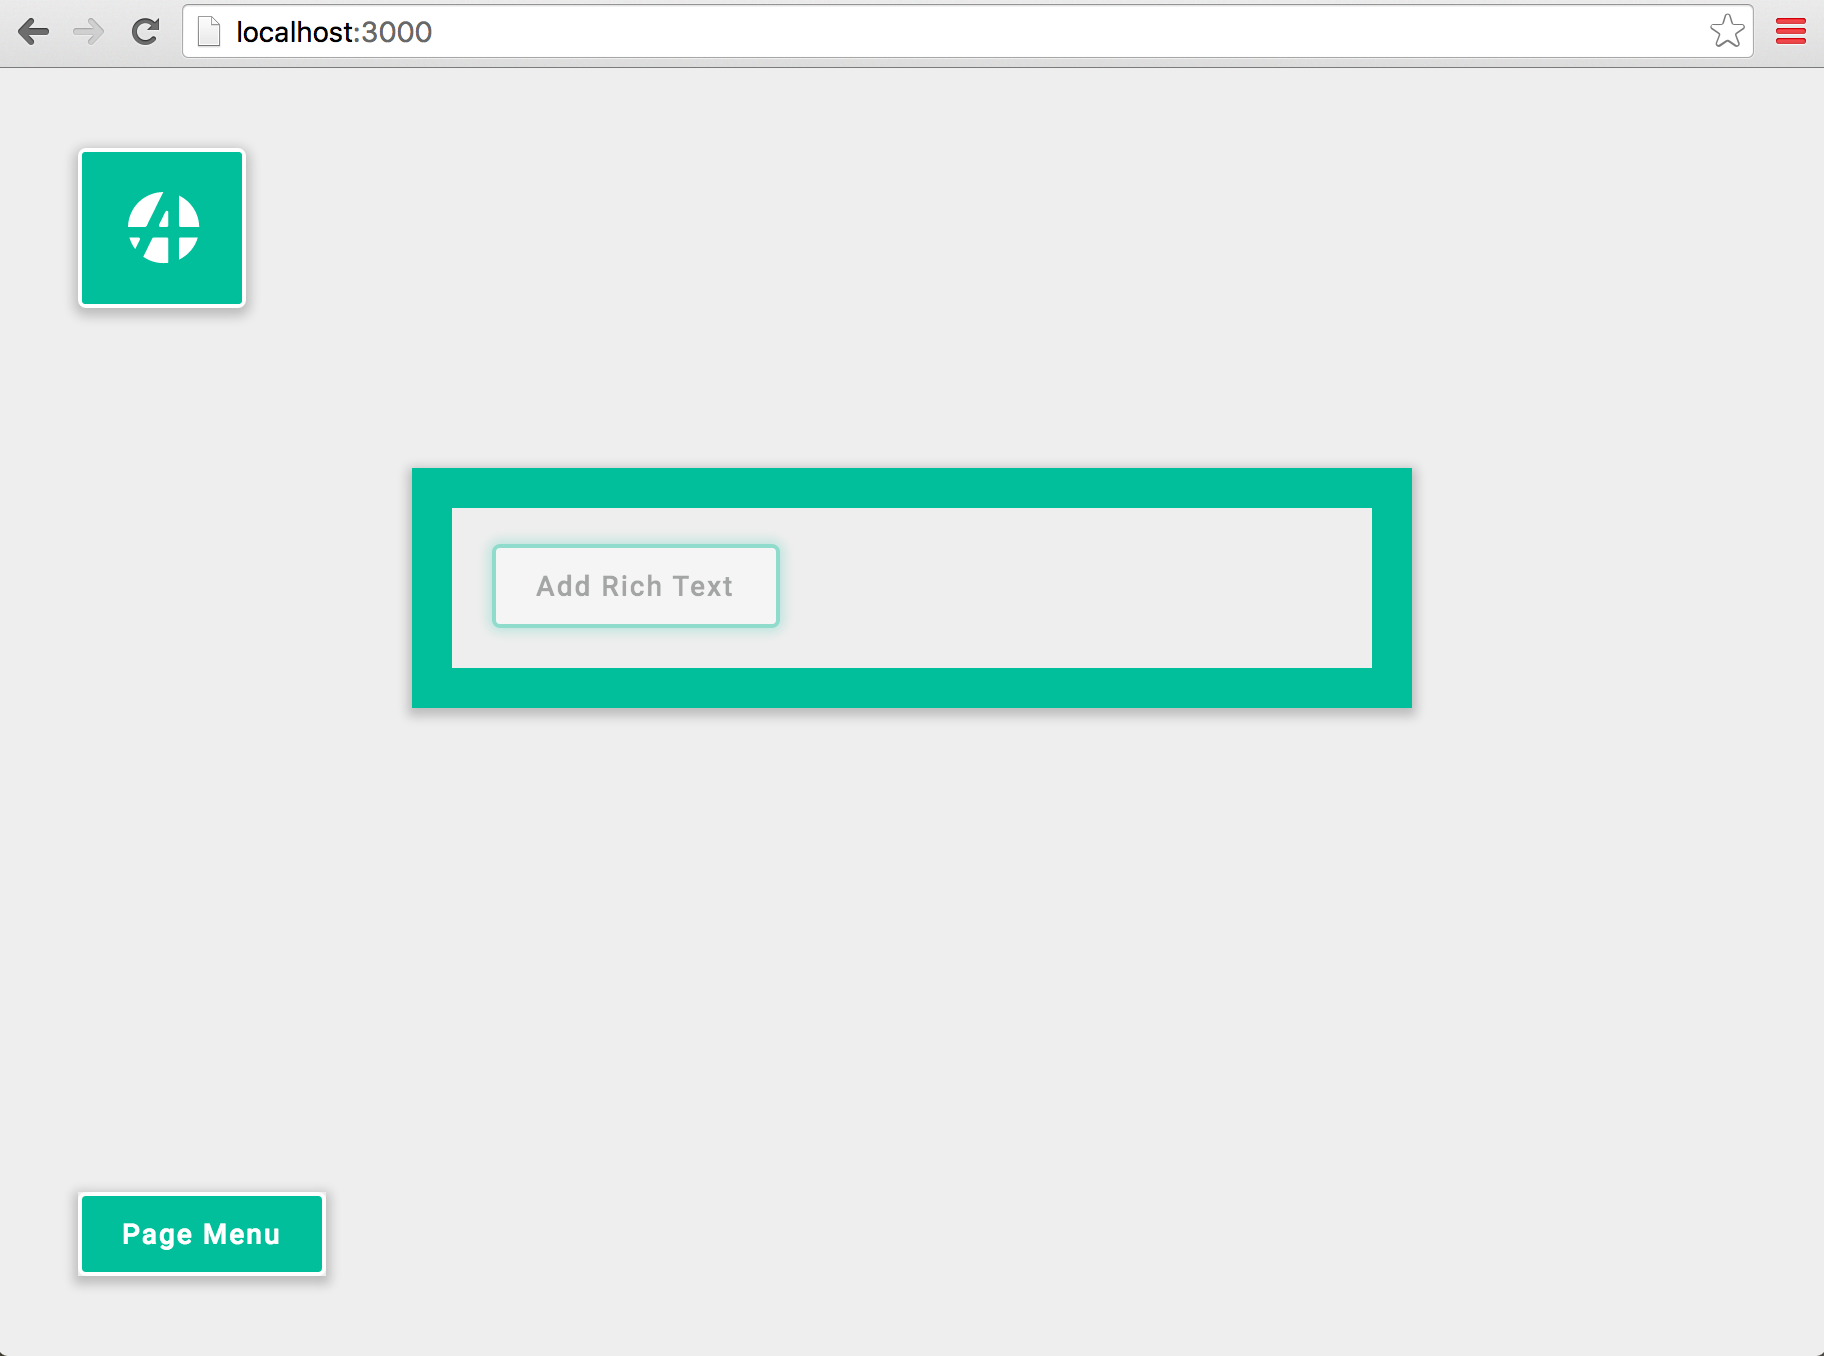
If we restart our server and refresh our site's home page while logged in, we'll see a gray block with a button prompting us to add rich text. Once you start adding text, your edits save automatically. There is no "save" button because you don't need one. All edits are saved in the background.
# Areas
An Area, is like a Singleton, a space on the page where an editor can add a widget. Unlike a Singleton, you can add any number of widgets inside of an area, and you can define multiple types of widgets that can be added within a single area. When we use the area helper a "+" sign appears on the page, allowing the user to add a new widget in a series (usually a vertical column), often alternating between images and rich text.
# Example: Creating an Area with Multiple Widgets
To see this in action, add an apos.area to a page template.
Open
default.htmlAdd this to
default.htmlbelow the Singleton you just added inside the maindiv:{# lib/modules/apostrophe-pages/views/default.html #} {{ apos.area(data.page, 'body', { widgets: { 'apostrophe-rich-text': { toolbar: [ 'Bold', 'Italic' ] }, 'apostrophe-images': { size: 'full' } } }) }}
The first two arguments for this helper work the same way as for apos.singleton. The third option is an options object. We can see that that options object supports a widgets option, which takes a key-value map of available widget names and their respective options.
TIP
Not sure how to add a second widget? After you're finished editing rich text, click anywhere outside of the rich text widget. Then hover over it and you'll see the "+" signs in each position where you're allowed to add a new widget.
With this, you've learned how to complete two of the most important tasks in any CMS: creating new pages and adding content to those pages. Next you'll learn how to connect pages with Navigation.